Labels
Overview
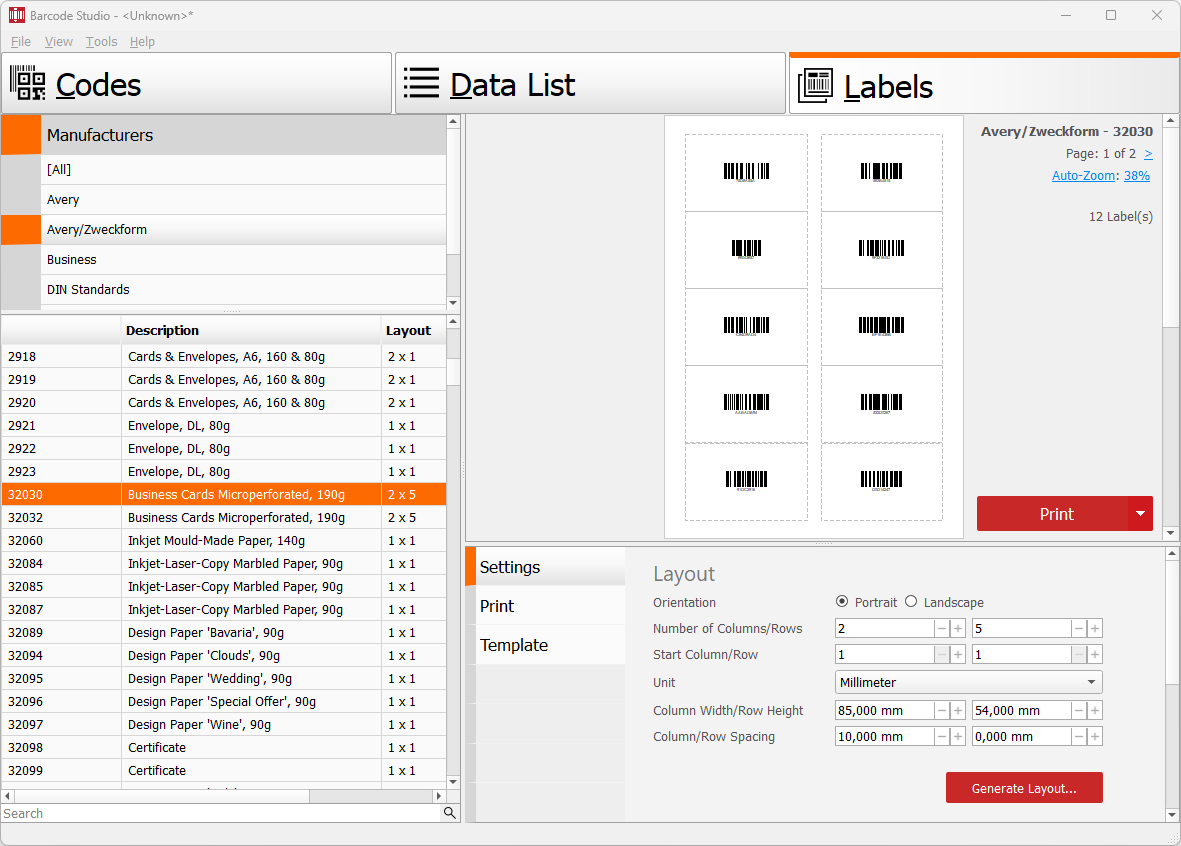
The Labels view arranges the records from the Data List on label sheets for printing. Choose a predefined label template or create a custom layout.
| Area | Location | Purpose |
|---|---|---|
| Manufacturers and Label Templates | Left | Choose a predefined label sheet. See Manufacturers and Label Templates. |
| Layout Preview | Upper right | Review the current page before printing. See Layout Preview. |
| Labels Status | Upper-right corner of the preview | Check the selected template, page, zoom, label count, and issues. See Labels Status. |
| Settings Pages | Lower right | Adjust the layout, print sequence, and custom template settings. See Settings Pages. |
| Printing | Lower-right corner of the preview | Open the print command. See Printing. |
Typical workflow:
- Configure the code settings. See Barcode Studio User Interface.
- Add or import the records in the Data List.
- Choose a suitable label template or define a custom layout.
- Review the Layout Preview and Labels Status information and correct any reported issues.
- Print the labels.
Layout Preview
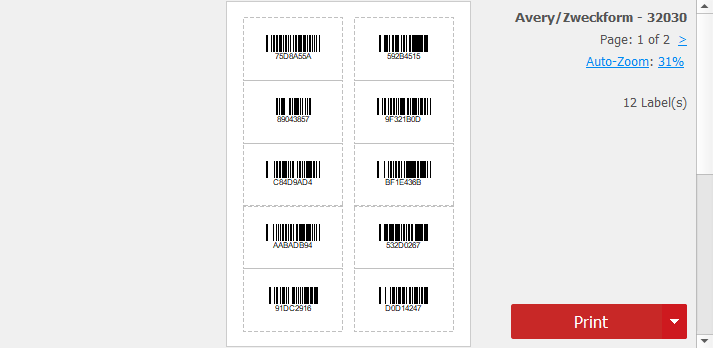
The Layout Preview shows one page of the current label layout. Navigate between pages using the previous and next page links in Labels Status, the scrollbar, the Left and Right Arrow keys, or Page Up and Page Down.
Use the Print button to send the job to the printer. See also Printing and Print Labels.
If barcode data cannot be encoded or a code is too large for its label cell, an error indicator appears on the affected label. Select the N Issue(s) link in Labels Status to open the complete error list. To inspect an individual record, select it in the Data List and read the message in the Code View.
Manufacturers and Label Templates
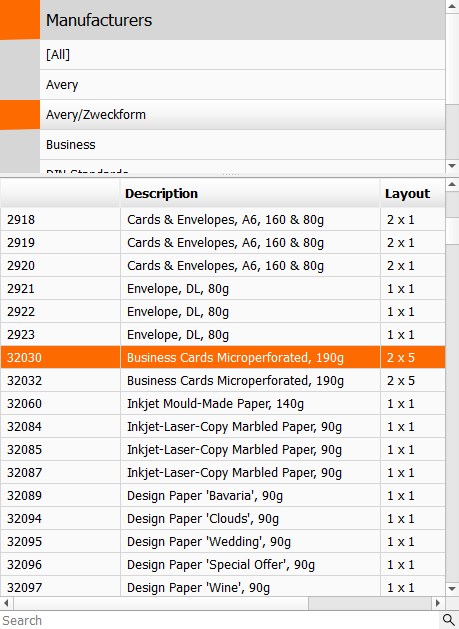
Select a manufacturer to show its label templates, or select [All] to show templates from all manufacturers. Then select the required template. Enter text in the Search field to filter templates by name or description.
The selected template provides settings such as the page size, number of columns and rows, and spacing. These values appear in the Settings Pages, where you can adjust them if necessary.
Labels Status
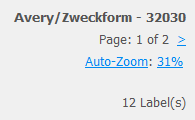
- Template
- Selected manufacturer and label template. This information is shown when a predefined template is selected.
- Page
- Current page and total number of pages. Use the previous and next page links to navigate between pages.
- Zoom / Auto-Zoom
- Current zoom percentage. Select Zoom or Auto-Zoom to switch between a fixed zoom factor and automatic fitting. Select the percentage to open the Zoom dialog.
- Labels
- Total number of labels to print.
- Issues
- Appears only when one or more labels contain invalid data or a code does not fit in its label cell. Select the link to open the complete error list.
Settings Pages
Use the tab bar to switch between:
- Settings – configure the label layout, paper size, and margins. See Page Settings.
- Print – choose how the labels fill the sheet. See Page Print.
- Template – save the current layout as a custom label template. See Page Template.
Page Settings
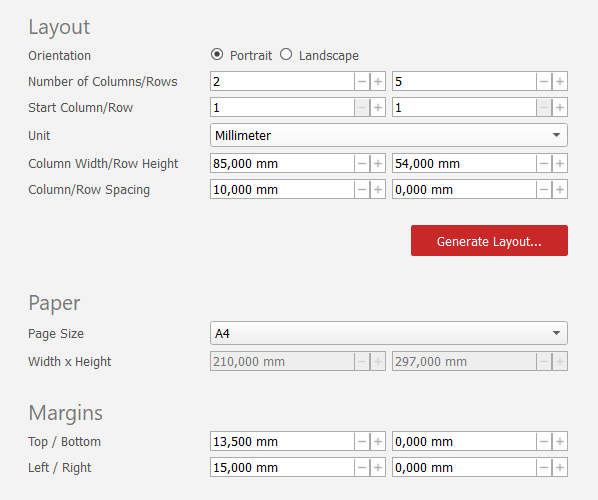
Layout
| Setting | Description |
|---|---|
| Orientation | Page orientation: Portrait or Landscape. |
| Number of Columns/Rows | Number of label columns and rows on each page. |
| Start Column/Row | Position of the first label printed on the first page. Use this setting to skip positions that have already been used on a label sheet. The selected Printing Sequence determines which positions are skipped. |
| Unit | Unit used for the label dimensions, spacing, paper size, and margins. |
| Column Width/Row Height | Width and height of each label cell. All cells on the sheet use the same dimensions. |
| Column/Row Spacing | Horizontal and vertical gaps between the label cells. |
- Generate Layout...
- Opens a dialog for creating a simple custom layout. Enter the Number of Labels and either set the Number of Columns or leave it at Auto. You can adjust the generated layout afterward.
Paper
Under Paper, select a predefined Page Size. To define your own page size, select <Custom> and enter Width x Height in the current Unit.
Margins
Under Margins, set Top / Bottom and Left / Right in the current Unit. These values determine the distance between the page edges and the label layout.
Page Print
Use Printing Sequence to choose how the labels fill the sheet:
- Across, then Down fills each row from left to right before continuing with the next row.
- Down, then Across fills each column from top to bottom before continuing with the next column.
The selected sequence also determines which positions are skipped by Start Column/Row on the first page.
Page Template
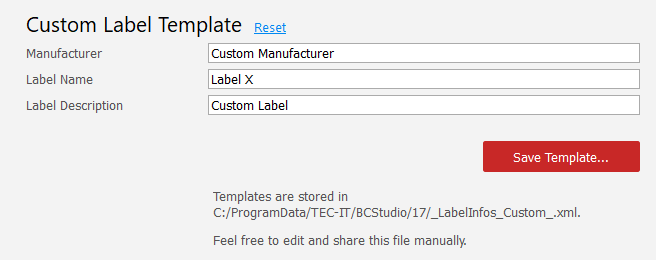
Use the Template page to save the current label layout as a reusable custom template. The displayed path shows the file in which custom label templates are stored.
| Setting | Description |
|---|---|
| Manufacturer | Manufacturer under which the template appears in the list. A new manufacturer name is added automatically. |
| Label Name | Name used to identify the template. If a custom template with the same name already exists, Barcode Studio asks before replacing it. Predefined templates cannot be overwritten. |
| Label Description | Optional description that helps identify the label template. |
Select Save Template.... The saved template then appears in the label template list.
Printing
Select Print. Before opening the print dialog, Barcode Studio checks whether the data can be encoded and whether each code fits within its label cell.
If issues are found, the error list opens. Select Cancel to return and correct the affected records, or select Print Anyway to continue to the print dialog. Correcting reported issues before printing is recommended. Common causes include:
- Data that cannot be encoded with the selected symbology.
- Codes that are too large to fit on the label.
After a successful check, adjust the printer settings and select Print to start printing.
Printing many labels may require a significant amount of time.